What is OpenSTAAD?
OpenSTAAD is the official Application Programming Interface (API) that connects STAAD.Pro with external tools, such as Python, Visual Basic and C++. It allows you to control multiple elements of the STAAD.Pro environment through scripts rather than manual clicks. With OpenSTAAD, you can:
-
Build parametric models to easily modify dimensions or material properties from one job to the next.
-
Automate preprocessors to apply loads, supports, and other parameters without repetitive modeling steps.
-
Create postprocessors that compile results, check codes, and format reports automatically.
-
Link STAAD.Pro with external tools (AutoCAD, Revit, IdeaStatica), ensuring consistency and reducing manual work.
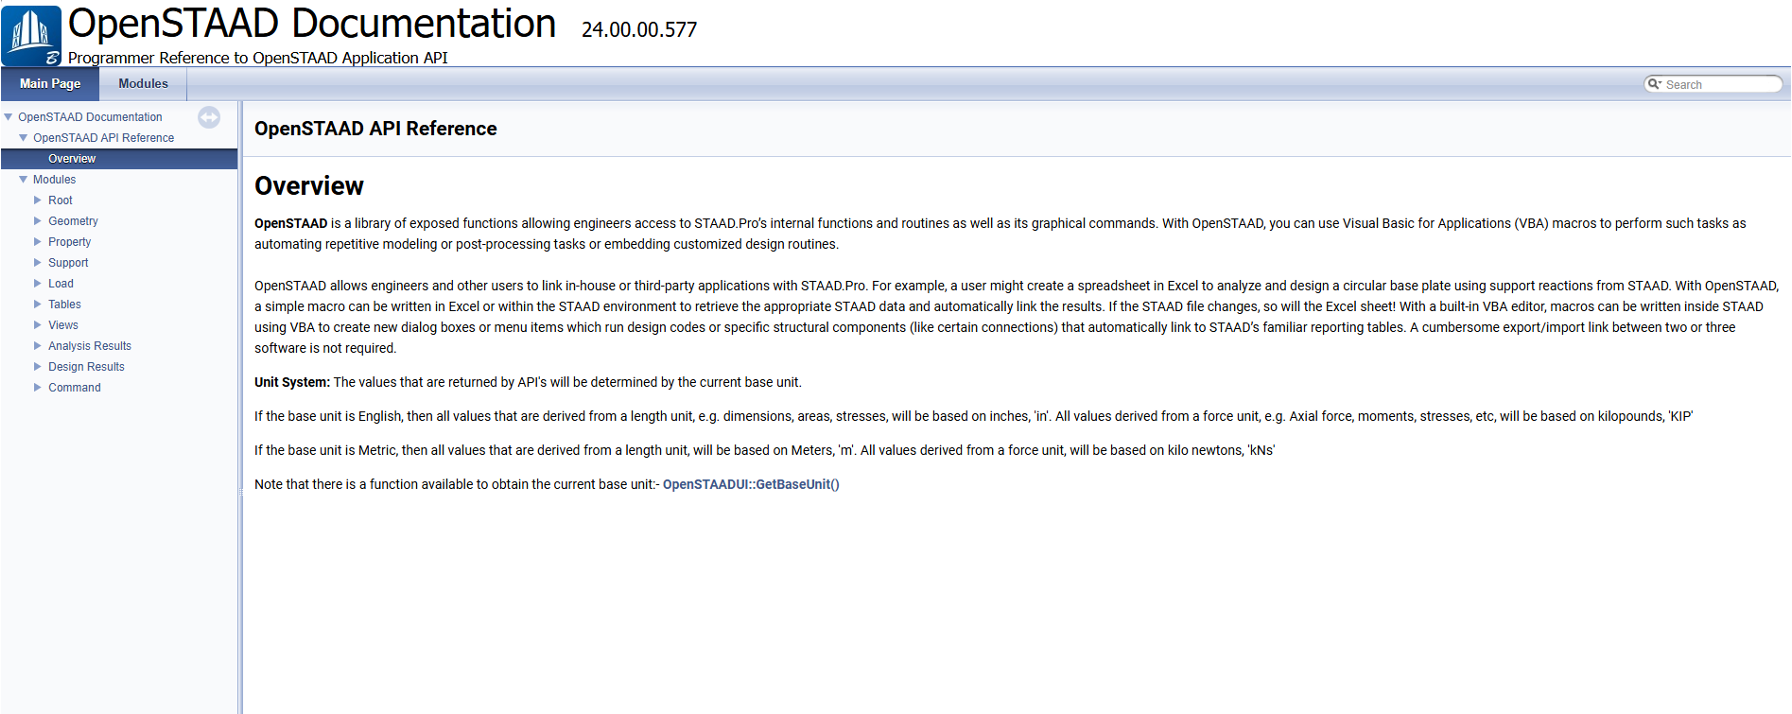
OpenSTAAD API Documentation
To access the documentation, go to the installation folder of STAAD.Pro: C:\Program Files\Bentley\Engineering\STAAD.Pro 2024\OSAPP_Help. You can browse through all the available methods. The examples provided are intended for Visual Basic and C++, so there is almost no reference available for Python. However, there is an active community in the Bentley forums, where you can post questions about using Python with OpenSTAAD, and the community will help you!
In addition to the official documentation and the forum, there is a GitHub repository maintained by Bentley called OpenStaadPython, but this repository only focuses on extracting results from an active model. We can access all the methods for creating an analysis and querying the model using comtypes and the "StaadPro.OpenSTAAD" client. In upcoming tutorials and blogs, we will use OpenStaadPython for more complex automations, but for this blog, we will focus on creating a structural model from scratch.
Creating Simple Structures with OpenSTAAD
We will create the simple structure shown in the image below:

The steps we will automate using the OpenSTAAD API are as follows:
-
Launching STAAD.Pro
-
Creating a new STAAD file
-
Defining sections and materials
-
Adding fixed supports
-
Defining loads and assigning them to the structure
-
Running the analysis
At the end of this blog, you will have a clear understanding of how to interact with STAAD.Pro programmatically, enabling you to create and analyze structures efficiently!
If you do not have much experience with Python or the OpenSTAAD documentation, do not worry. We have prepared clear videos for each step, where you can see how the functions are used in the documentation and watch the Python code being executed. This way, you will be guided throughout the entire tutorial.
Requirements
Make sure to have STAAD.Pro installed with a valid license. You will also need a good IDE with a terminal. VSCode or PyCharm are good options. Additionally, ensure that Python is installed along with pip to install the following packages:
1pip install comtypes pythoncom
Launch STAAD.PRO
First, we need to launch STAAD.Pro so that our script can establish a connection. We use Python’s subprocess to start the application and wait a few seconds to ensure it fully loads. After that, we connect to the OpenSTAAD client using comtypes. This is done by calling GetActiveObject("StaadPro.OpenSTAAD"), which allows us to control the software directly from our Python code.
1import subprocess
2import time
3import comtypes.client
4from pythoncom import CoInitialize, CoUninitialize
5from pathlib import Path
6
7CoInitialize()
8# Replace with your version and file path.
9staad_path = (
10    r"C:\Program Files\Bentley\Engineering\STAAD.Pro 2024\STAAD\Bentley.Staad.exe"
11)
12# Launch STAAD.Pro
13staad_process = subprocess.Popen([staad_path])
14print("Launching STAAD.Pro...")
15time.sleep(8)
16# Connect to OpenSTAAD.
17openstaad = comtypes.client.GetActiveObject("StaadPro.OpenSTAAD")
Create New STAAD File
After launching STAAD.Pro, we proceed to create a new .std file where the model will be saved. Using the NewSTAADFile method, we specify the units for length and force as meter and kilo-newton, respectively. A short delay is added to ensure that the interface has enough time to complete loading before moving to the next step.
1# Create a new STAAD file.
2std_file_path = Path.cwd() / "my_api_staad_model.std"
3length_unit = 4  # Meter.
4force_unit = 5  # Kilo Newton.
5openstaad.NewSTAADFile(str(std_file_path), length_unit, force_unit)
6# Wait to load interface
7time.sleep(3)
Create section and materials
Once the file is set up, we define the material and the section properties for the structure. We call SetMaterialName to assign "STEEL" as the material and use CreateBeamPropertyFromTable to select an IPE200 profile from the European section database. This step ensures that our beams have the correct physical properties for analysis.
1# Set Material and Beam Section.
2staad_property = openstaad.Property
3staad_property._FlagAsMethod("SetMaterialName")
4staad_property._FlagAsMethod("CreateBeamPropertyFromTable")
5material_name = "STEEL"
6staad_property.SetMaterialName(material_name)
7# Create Beam Element
8country_code = 7  # European database.
9section_name = "IPE200"  # Selected profile.
10type_spec = 0  # ST (Single Section from Table).
11add_spec_1 = 0.0  # Not used for single sections
12add_spec_2 = 0.0  # Must be 0.0.
13# Create the beam property.
14property_no = staad_property.CreateBeamPropertyFromTable(
15    country_code, section_name, type_spec, add_spec_1, add_spec_2
16)
Create the geometry
Now it is time to build the structure’s geometry by creating nodes and connecting them with beams. We use the CreateNode method to define four nodes at specific coordinates, and then connect them using CreateBeam. Finally, the AssignBeamProperty method is used to assign the previously defined steel section properties to each beam.
1# Create Members.
2geometry = openstaad.Geometry
3geometry._FlagAsMethod("CreateNode")
4geometry._FlagAsMethod("CreateBeam")
5staad_property._FlagAsMethod("AssignBeamProperty")
6
7geometry.CreateNode(1, 0, 0, 0)
8geometry.CreateNode(2, 5, 0, 0)
9geometry.CreateNode(3, 0, 0, 5)
10geometry.CreateNode(4, 2.5, 5, 2.5)
11
12geometry.CreateBeam(1, 1, 4)
13geometry.CreateBeam(2, 2, 4)
14geometry.CreateBeam(3, 3, 4)
15
16staad_property.AssignBeamProperty(1, property_no)
17staad_property.AssignBeamProperty(2, property_no)
18staad_property.AssignBeamProperty(3, property_no)
Add fixed supports
After defining the geometry, we add boundary conditions by creating a fixed support. The CreateSupportFixed method generates the support, which is then assigned to specific nodes using AssignSupportToNode. This ensures that the structure has proper constraints for the analysis.
1# Create supports.
2support = openstaad.Support
3support._FlagAsMethod("CreateSupportFixed")
4support._FlagAsMethod("AssignSupportToNode")
5
6varnSupportNo = support.CreateSupportFixed()
7support.AssignSupportToNode(1, varnSupportNo)
8support.AssignSupportToNode(2, varnSupportNo)
9support.AssignSupportToNode(3, varnSupportNo)
Create loads
A primary load case is set up using CreateNewPrimaryLoad, activated with SetLoadActive, and given self-weight through AddSelfWeightInXYZ. The factor and direction of the load are specified here, completing the definition of a basic load case.
1load = openstaad.Load
2load._FlagAsMethod("SetLoadActive")
3load._FlagAsMethod("CreateNewPrimaryLoad")
4load._FlagAsMethod("AddSelfWeightInXYZ")
5
6case_num = load.CreateNewPrimaryLoad("Self Weight")
7ret = load.SetLoadActive(case_num)  # Load Case 1
8ret = load.AddSelfWeightInXYZ(2, -1.0)  # Load factor
Run analysis
To finalize, the code calls PerformAnalysis and then switches the software to silent mode using SetSilentMode. Silent mode sets STAAD.Pro to run the analysis without displaying any pop-up windows or dialogs. Short delays are added to make sure the analysis finishes without interruption.
1# Run analysis in silent mode.
2command = openstaad.Command
3command._FlagAsMethod("PerformAnalysis")
4openstaad._FlagAsMethod("SetSilentMode")
5openstaad._FlagAsMethod("Analyze")
6openstaad._FlagAsMethod("isAnalyzing")
7
8# Set static analysis
9command.PerformAnalysis(6)
10openstaad.SaveModel(1)
11time.sleep(3)
12openstaad.SetSilentMode(1)
13
14# Run analysis
15openstaad.Analyze()
16time.sleep(10)
17CoUninitialize()
And as you can see, now we are able to generate nodes, cross sections, members, supports, add loads, and run our analysis without any manual work!
Adding More Tools to Your STAAD.Pro Workflow
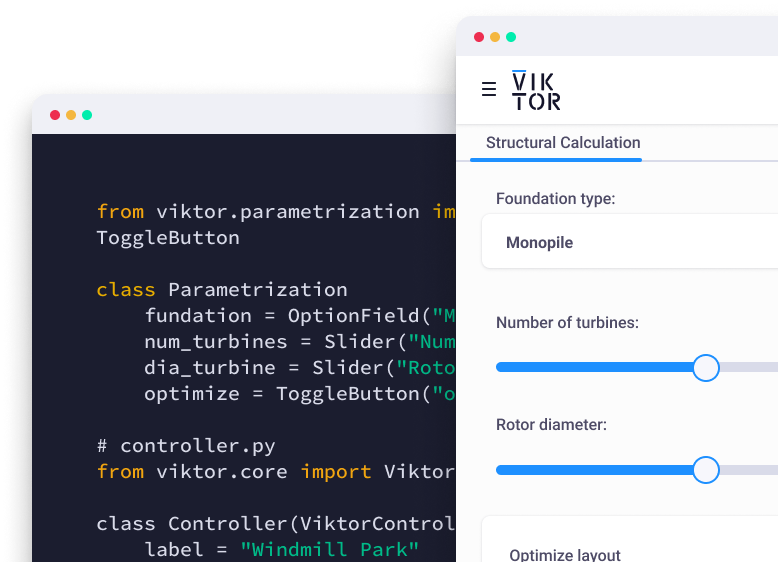
Now that you have learned how to use Python to automate the boring tasks in STAAD.Pro, the next step is to add more tools to improve your structural design workflow. One great option is VIKTOR, which lets you build easy-to-use web applications. You can create a simple and user-friendly interface to input the parameters of your structural model or set the settings for your analysis or designs. In addition, you can retrieve results from STAAD.Pro, create visualizations, and even generate reports—all within a shareable web app. You can check out the simple tutorial or dive straight into the advanced tutorial for STAAD.Pro. To see how VIKTOR integrates seamlessly with STAAD.Pro and other software, check out our documentation page on the integration.
Conclusion
Automating repetitive tasks in STAAD.Pro with Python helps structural engineers save time and focus on important design decisions. By adopting this workflow, you reduce errors, speed up the process, and create opportunities for more innovative solutions. Stay tuned for our upcoming blogs, where we will show how to create a shareable web application using OpenSTAAD in the backend with VIKTOR, so you can sign in and start learning how VIKTOR can help you and your company in automating and optimizing structural design work.