
Download the white paper and get INSPIRED
Learn how collaborative parametric design models allow you to work together for better solutions.
What is geometry interaction
Geometry interaction refers to the actions a user can perform with geometric entities such as points, curves, surfaces and solids. Some common forms of geometry interactions are selection, transformation and inspection. Whether a user wants to manipulate a 3D model in CAD or set up a simulation for FEA, being able to interact with a geometry directly impacts the user’s experience and the quality of the output.
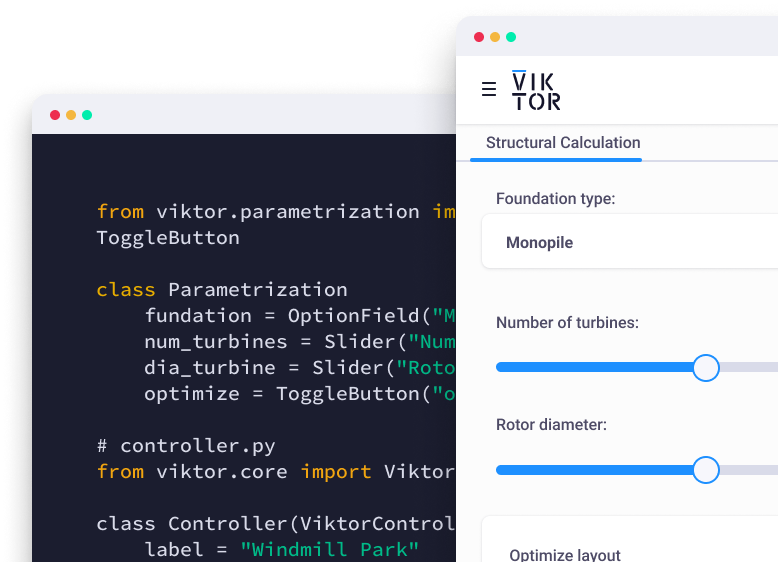
In VIKTOR, geometry interaction starts with geometry selection. The ability to select elements in the view is the starting point for all other actions, which is why you can now leverage the GeometrySelectField in VIKTOR apps.
Examples of geometry interaction in VIKTOR apps
You may associate geometry interaction with large, intricate software but it is also critical for your applications, and it is now easier than ever to implement this into your VIKTOR application’s GeometryView or IFCView.
Next, you will find some examples of how you can apply and leverage the GeometrySelectField in VIKTOR and create apps with an enhanced user experience.
Selecting a node to add loads
For the first example we have an app that utilizes OpenSeesPy and allows a user to select the nodes on which to impose the loads for the OpenSees analysis.
As you can see the app lets you add multiple loads and displays it as an arrow to the view. Now imagine you did not have the ability to select a node but had to enter the node Id manually. In this example it is very easy to see how geometry interaction has greatly improved the user’s experience.
Adding elements to a geometry
In another example, you can use geometry selection to add simple balconies to a model.
Instead of selecting a single node as was done in the previous example; by selecting two nodes you can define a length for the balcony. Just like the previous example we have combined geometry selection with a dynamic array to allow for a user to make multiple (sets of) selections.
Showcase hidden information
In both previous examples we have seen how geometry selection is a fantastic tool to use for design and simulation. But what if we were only interested in the underlying information that may be hidden from the user?
Think of all the information that is stored in an IFC file. The geometric parameters are only a small part of it so what if we want to be able to see the rest of the information related to an element?
In the IFC viewer we can nicely see that the IFC view lets you click on any of the elements and the element’s properties will pop up in the window. Just like in a GeometryView, you can leverage the geometrySelectionField here, which can again serve as the basis for all other geometry interactions.
How to implement Geometry Interaction in your VIKTOR apps
To start implementing geometry interactions in your applications. There are two variations you must consider of the geometry selection input options. VIKTOR offers both the GeometrySelectField and GeometryMultiSelectField. Once added to your parametrization, you can select a geometric object in the view. The geometric object that you choose is returned in the parameters (params) as a list of identifiers (string format). Let's make an example together.
For this example, you can start by creating an empty app template, installing and starting it.
We will start by importing viktor as vkt. This will let you use all the viktor components in your apps.
1import viktor as vkt
The next step is to add our GeometrySelectField and GeometryMultiSelectField to the parametrization.
1class Parametrization(vkt.Parametrization):
2
3    selected_geometry = vkt.GeometrySelectField("Select a geometry")
4
5    selected_geometries = vkt.GeometryMultiSelectField("Select geometries")
To use the parameters, let's add a Geometry and data view to the app. You will display the output of the calculation for which you use the geometry selection in the data view.
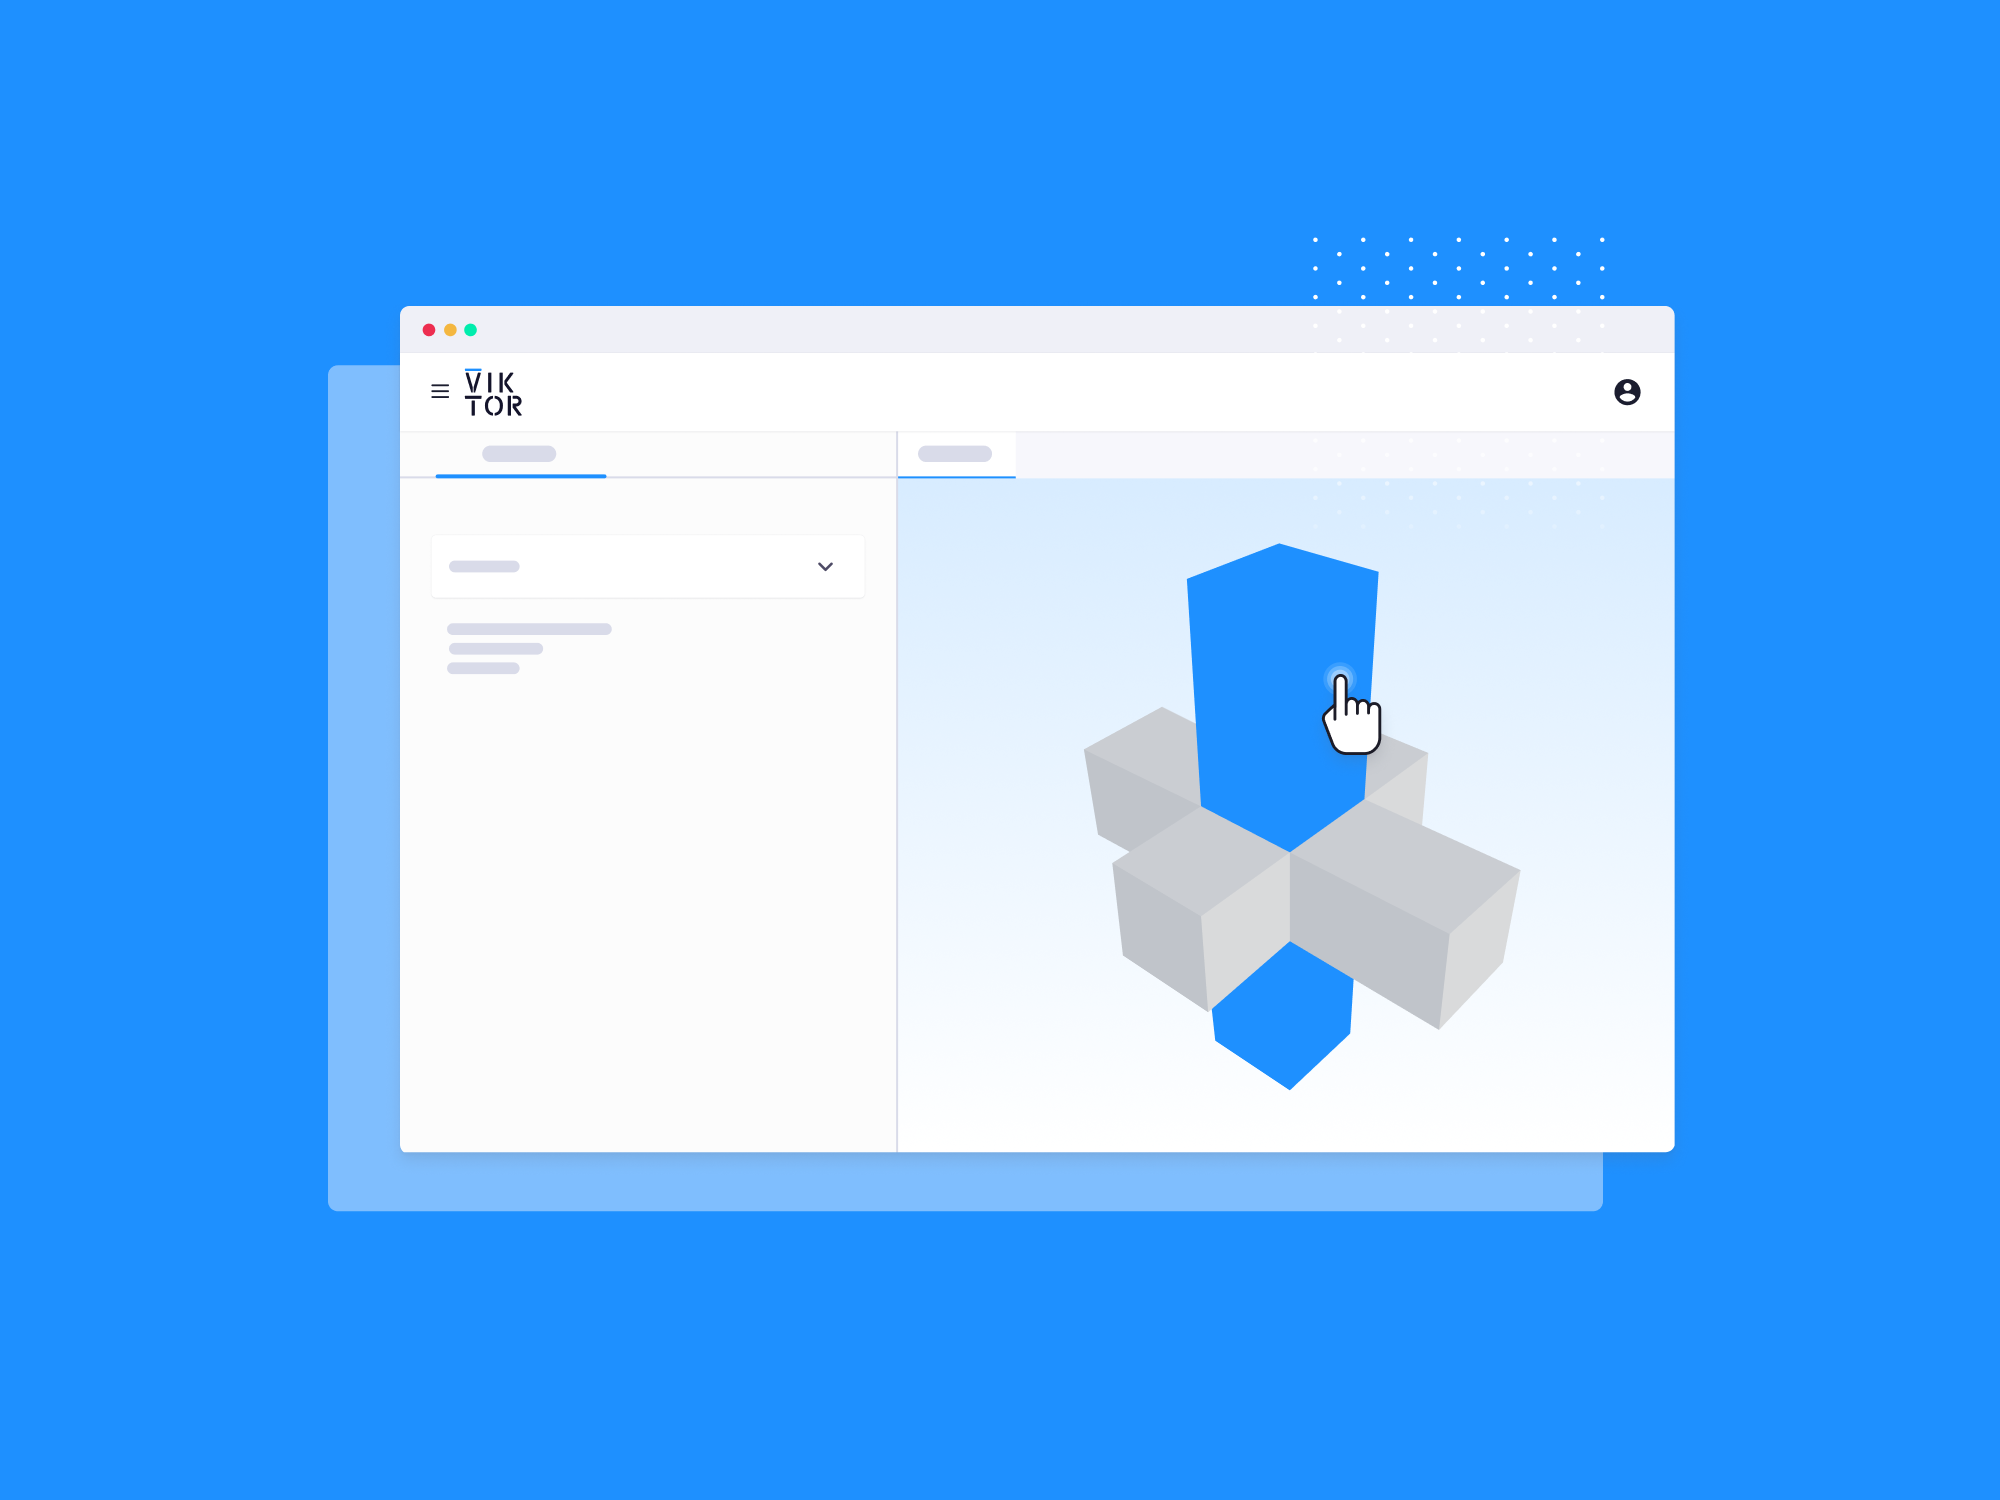
Let's also add a simple geometry consisting of 3 square beams:
1   @vkt.GeometryAndDataView('Geometry', x_axis_to_right=True)
2
3    def get_geometry_and_data_view(self, params, **kwargs):
4
5        cubes = {
6
7            'cube1': vkt.SquareBeam(1, 1, 5, identifier="cube1"),
8
9            'cube2': vkt.SquareBeam(1, 4, 1, identifier="cube2"),
10
11            'cube3': vkt.SquareBeam(3, 1, 1, identifier="cube3")
12
13        }
That’s your geometry done. As you may have noticed, you have added unique identifiers for each beam. This is important to be able to differentiate between them at the next stop.
Next, you want to implement a volume calculation based on the selected geometry. For the GeometrySelectField, you can easily use the .inner_volume method to calculate the volume of a single beam.
1# Calculate data
2
3        if selected_geometry := params.selected_geometry:
4
5            volume = cubes[selected_geometry].inner_volume
6
7            data_1 = vkt.DataItem('Volume of GeometrySelectField', volume, suffix="m3")
8
9        else:
10
11            data_1 = vkt.DataItem('No geometry selected in GeometrySelectField', '')
For the GeometryMultiSelectField, you will need to loop over the ‘cubes’ dictionary. This dictionary will contain the identifier of each of the selected geometries:
1if selected_geometries := params.selected_geometries:
2
3   volume = sum(cubes[selected_geometry].inner_volume for selected_geometry in selected_geometries)
4
5   data_2 = vkt.DataItem('Volume of GeometryMultiSelectField', volume, suffix="m3")
6
7else:
8
9   data_2 = vkt.DataItem('No geometries selected in GeometryMultiSelectField', '')
Finally, you can return the result in your GeometryAndDataResult:
1return vkt.GeometryAndDataResult(geometry=cubes.values(), data=vkt.DataGroup(data_1, data_2))
And this is a simple implementation of how you can implement geometry interaction in your applications!
Conclusion
Geometry interaction is a key part of any application that wants to perform actions on a geometry. Whether it is the set-up of a simulation or an informative pop-up, selection is the basis of all interactions. With the latest additions to VIKTOR’s input fields, you can now easily improve the user experience of your applications that use geometries.