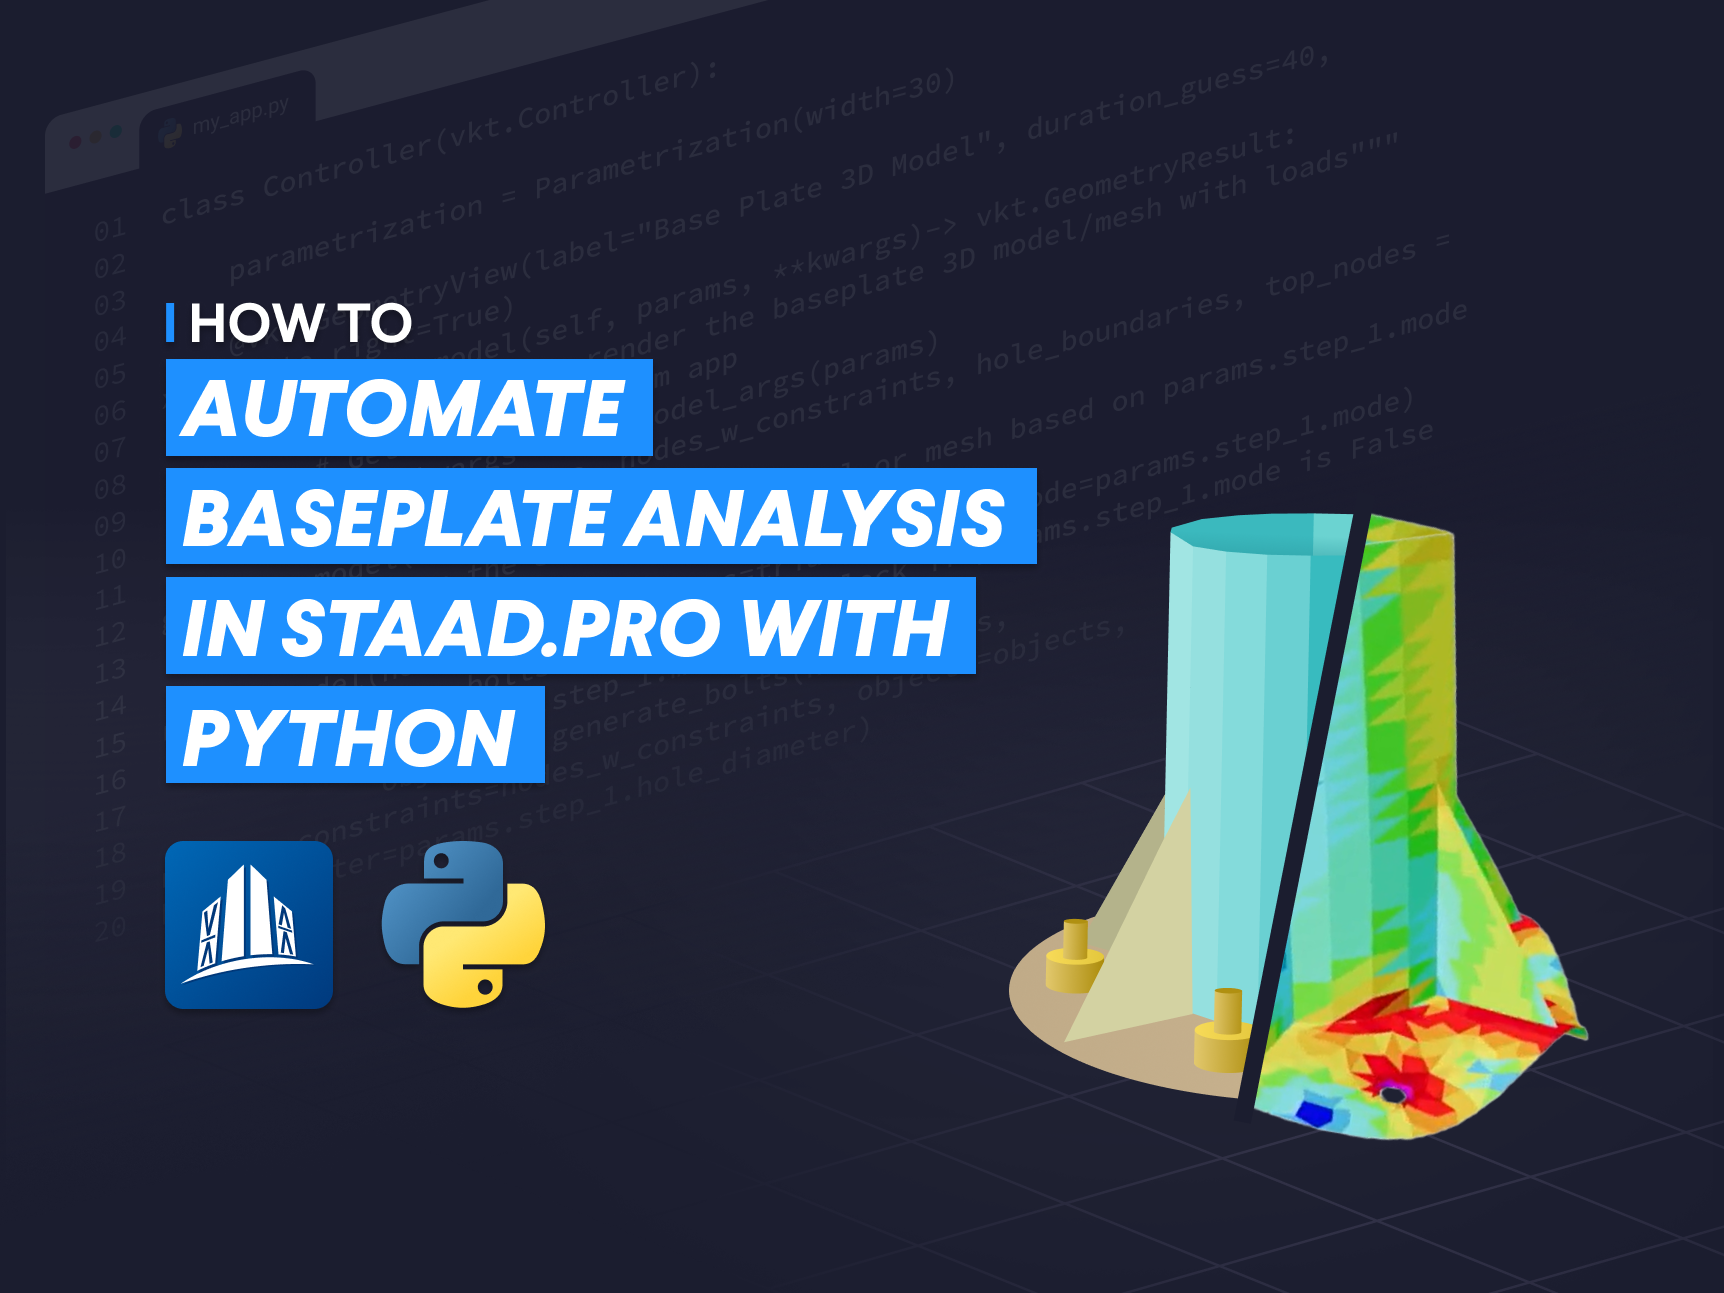
What are the challenges in creating and analyzing complex baseplate connections?
Baseplates are used in almost every steel structure. Depending on the project, engineers design baseplate connections that can be simple or complex. One of the most complex cases is when there are circular geometries, multiple stiffeners, and a complex bolt arrangement, commonly found in infrastructure projects with tubular columns, distribution poles, lighting poles, and signage structures. For this type of baseplate, a detailed analysis is required using software like STAAD.Pro. The design involves multiple iterations, such as changing the number of bolts, the number of stiffeners, and the plate thickness to find the best solution. This process takes a lot of time and requires extensive analysis and the creation of multiple models.
The process of designing and analyzing a baseplate in STAAD.Pro usually follows these steps:
-
Creating the geometry of the main components.
-
Generating the mesh for each component.
-
Assigning loads to the baseplate.
-
Building the structural model in STAAD.Pro.
-
Running the analysis and reviewing the results.
Each step involves repetitive tasks, especially creating baseplate geometry and checking results. Designing circular shapes, stiffeners, and complex bolt arrangements takes a lot of time. Reviewing results in STAAD Pro is also difficult because rotating and inspecting 3D models can be frustrating.
The good news is you can automate most of this using Python and OpenSTAAD. To simplify things further, I use VIKTOR.AI, a low-code platform that allows me to create geometry, connect with STAAD.PRO, and handle post-processing, all in one simple web application. This helps me complete designs faster and easily share results with colleagues. Keep reading to see how this approach makes designing and analyzing baseplate connections quicker and easier.
1. How to create baseplate geometry
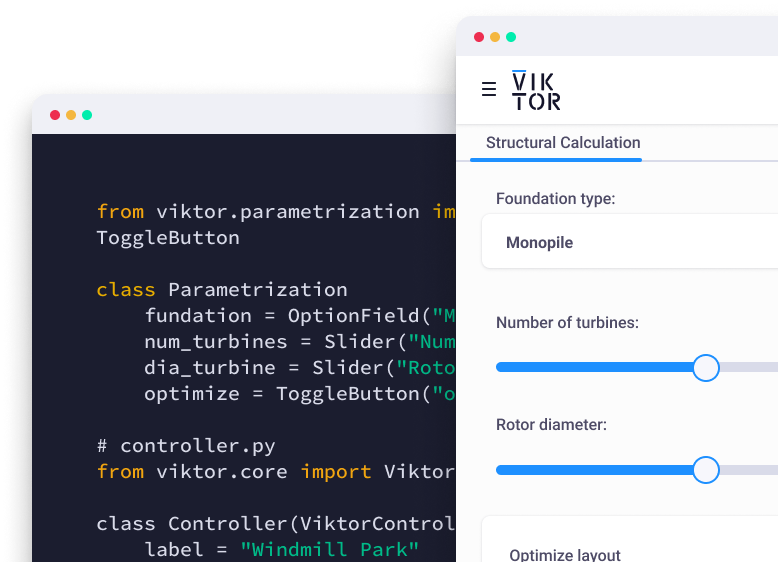
The first step in our workflow is defining the main components of the baseplate. These include the circular hollow section (CHS), the stiffeners, and the bottom plate. Manually creating these along a circular baseplate can be tricky since working with radial coordinates is not something we do every day. That is where our app makes things easier. It automatically distributes the stiffeners and ensures the bolts are placed between them.
By default, the app follows Eurocode 3 (EN 1993-1-8) for bolt spacing and edge distances, but users can adjust these settings. In addition, it simplifies bolt modeling in STAAD.Pro by placing a central node at each bolt, connecting surrounding nodes, and applying tension-only supports, so you do not have to worry about it!
You can adjust any parameter and instantly check the updated 3D model in a GeometryView, making it easy to verify that everything is set up correctly.
2. How to mesh baseplate components with python
Once the geometry is ready, the next step is meshing the components. This just means breaking the elements into smaller pieces so STAAD Pro can generate more refined results.
To achieve this, I'm using MeshPy, a lightweight meshing library with modules to create triangular meshes. Additionally, I'm using custom Python functions to ensure proper connections between mesh components. There's no need for a complex library because visualization is handled by Viktor, and analysis is done with STAAD.Pro.
A key feature is the "mesh division" input parameter, which you can set separately for each baseplate component. The app uses this value to refine the mesh in MeshPy, adjusting element sizes automatically. This lets you control mesh density easily while the app handles the technical side of MeshPy.
To inspect the mesh, VIKTOR has two useful tools. The first is Triangle, which lets you display individual mesh elements in GeometryView. The second is TriangleAssembly, which groups multiple mesh elements together, adds color for clarity, and makes verification simple.
3. Assigning loads and load combinations
After generating the geometry, our app takes us to the next section: defining the loads. Here, we can assign point loads, including:
-
Tension and compression loads
-
Shear loads
-
Bending moments in each direction
The user interface makes this process easy. You can create new elements using a DynamicArray to specify the type of load, direction, magnitude, and even the color. The loads are then rendered in the 3D view, allowing you to verify that everything is correctly assigned.
4. How to create the structural model in STAAD.Pro
When all the inputs are ready, the application sends this information to your machine or a server, where the STAAD.Pro model is created using OpenSTAAD. The connection between the app and the worker is managed by a VIKTOR Worker, an executable that serves as a bridge between the app and your software.
The worker runs a Python script that creates the mesh elements, assigns nodal constraints and supports, and generates the load cases. All of this is fully automated using OpenSTAAD and Python, eliminating the need to repeat these tedious steps every time we create a new baseplate.
5. How to run the analysis and post-processing the results
After the model is created, the worker runs the analysis and saves the results. Since we are performing a stress analysis, we store the von Mises stress for each element and also save the nodal deformations.
Once STAAD Pro completes the analysis, the VIKTOR Worker sends the results back to our web application. Since the STAAD model results fit into the same structure as the geometry we created earlier, we have complete control, making it easy to process and display them. Basically, we are reusing the 3D GeometryView logic by adding colors for stress and adjusting node positions for displacement. We can also control the scale factor to modify the size of the deformed shape, making it easier to visualize.
One of the biggest advantages of post-processing the results in the VIKTOR web app is how simple it is to interact with the model. You can rotate and pan the view freely, making it much easier to check stress values and deformations. In STAAD Pro, this process is much more difficult because you cannot rotate the model smoothly with a mouse. Instead, you have to click multiple times just to adjust the view. This feature significantly improves the experience of reviewing the results from STAAD Pro.
How Can I Try This App?
Ready to cut your baseplate design time in half? This app is open source and you can find the code on GitHub to customize it to fit your needs. You can modify the geometry by implementing a different type ofbaseplate, addjust the model, or change the load combinations. Editing it is straightforward, allowing you to easily adapt it to your specific project requirements.
Conclusion
In this blog, we covered the key steps to automate the modeling, meshing, and analysis of a baseplate in STAAD Pro. By integrating these processes into a single web application, we eliminated the need for repetitive manual work, making structural analysis faster and more efficient.
The next step is to explore our tutorial on integrating STAAD Pro with VIKTOR, so you can start building your own automation tools.
Creating web apps to simplify engineering workflows has never been easier. Join thousands of engineers who have transformed their workflow by creating your own VIKTOR account to start automating your structural designs today!